How to Clean a Bird Feeder Safely: Step-by-Step Guide
Clean a seed or suet bird feeder safely in eight practical steps, with guidance on washing frequency, disinfection, drying, and ground cleanup.
To clean a bird feeder, discard the old food, take the feeder apart, remove loose debris, scrub every accessible surface, rinse it thoroughly, and let all parts dry completely before refilling. Clean sooner when seed becomes wet or moldy, droppings build up, feeder use is heavy, or local wildlife authorities report a disease concern.
A clean feeder does not guarantee that wild birds will never become ill. It does remove spoiled food and built-up waste from a place where many birds gather. The safest routine combines regular washing, faster action when conditions change, and attention to the ground below the feeder.
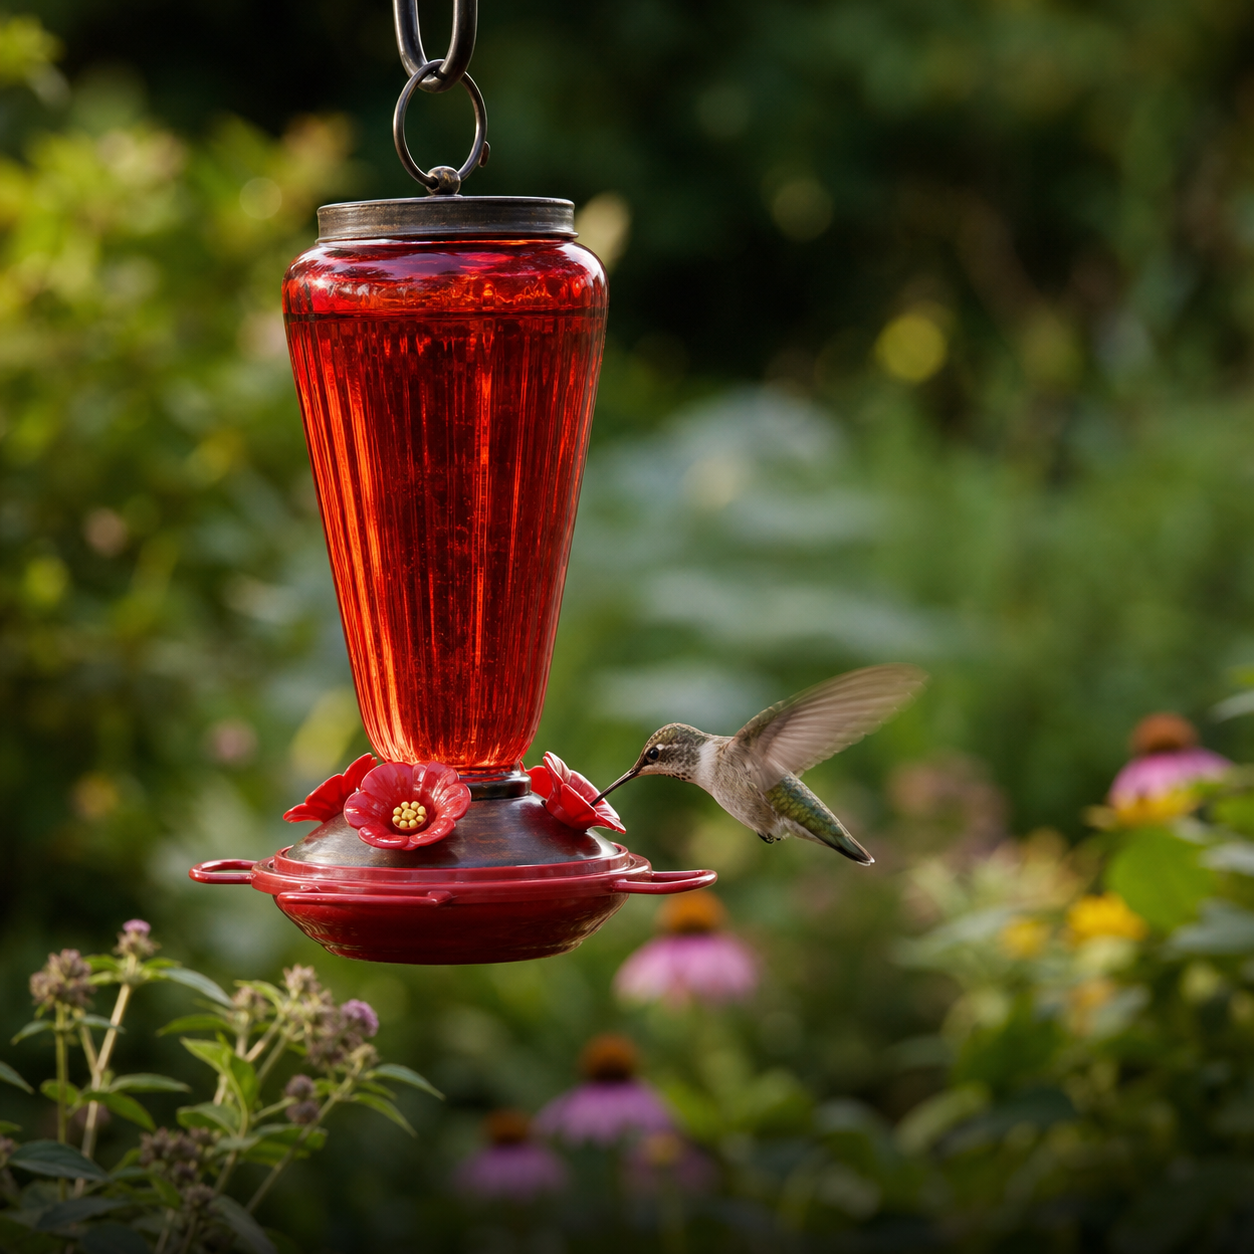
This guide covers seed and suet feeders. Hummingbird and other nectar feeders need a separate, more frequent routine because sugar water can spoil quickly.
How Often Should You Clean a Bird Feeder?
A useful starting point is to clean a seed feeder about every two weeks, as recommended by Cornell Lab and University of New Hampshire Extension. This is a baseline, not a fixed safe interval: a lightly used feeder in dry conditions is different from a busy feeder exposed to rain, waste, and warm weather.
Use the calendar as a reminder, not as permission to ignore a dirty feeder. Clean it sooner when you notice any of the following:
- seed that is wet, clumped, moldy, decomposing, or foul-smelling;
- droppings or heavy food debris on the tray, ports, roof, or base;
- prolonged wet weather or unusually heavy feeder traffic;
- blocked drainage holes or food trapped in seams;
- a sick-looking bird at the feeding station; or
- a disease advisory from a state or federal wildlife authority.
Checking the feeder whenever you refill it makes this easier. A short inspection can catch damp seed or a blocked port before the next scheduled wash.
What You Need to Clean a Bird Feeder
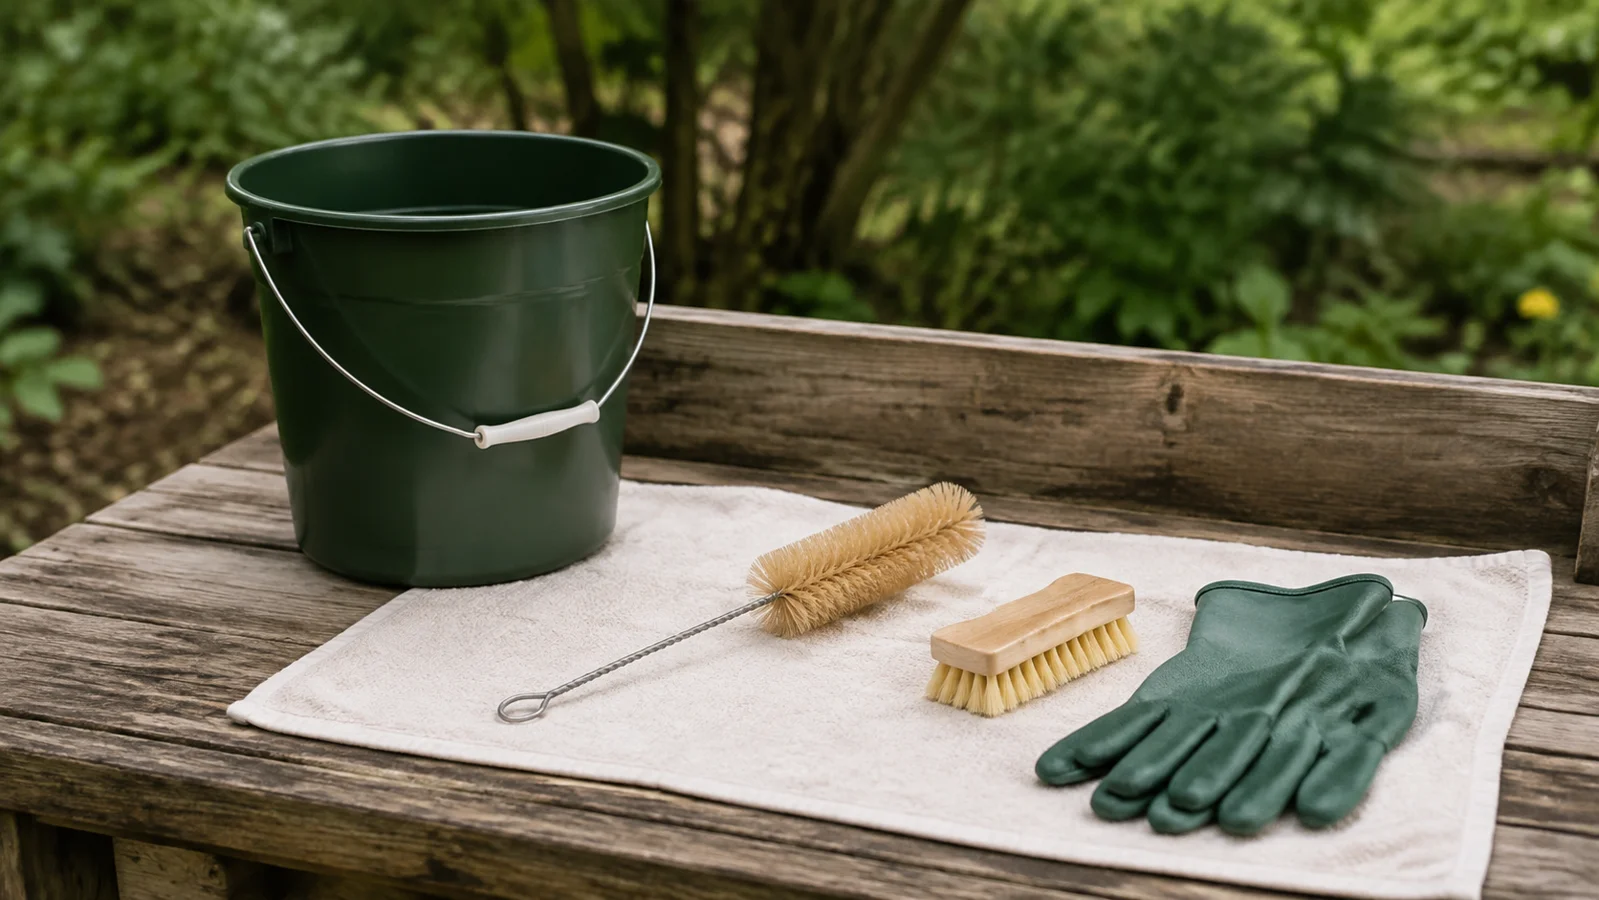
Keep a small set of tools for feeder care instead of borrowing items used for dishes or food preparation:
- washable or disposable gloves;
- a bucket, outdoor washing area, or utility sink away from food preparation;
- a stiff brush for trays and broad surfaces;
- a narrow bottle or port brush for tubes, seams, and feeding openings;
- soap and clean water;
- a clean place where every part can air-dry; and
- a suitable disinfectant only when the feeder material and the situation call for it.
Never mix bleach with vinegar, ammonia, or another cleaner. If the feeder manufacturer gives material-specific instructions, follow them. Paint, wood, plastics, finishes, adhesives, and metal parts do not all tolerate the same chemicals or water temperature.
How to Clean a Bird Feeder in 8 Steps
1. Remove and discard the old food
Empty the feeder before taking it apart. Do not save seed that is damp, moldy, contaminated with droppings, or giving off an unusual odor. Dry-looking food can also hide in corners, so turn the feeder over and check the base, ports, and roof joints.
2. Take the feeder apart
Remove detachable trays, roofs, perches, bases, guards, and inserts according to the product instructions. Put screws and small fasteners in a container so they do not disappear. Do not force a part that is not designed to come off.
3. Brush out loose material
Before adding water, remove hulls, compacted seed, droppings, and other loose debris. A narrow dry brush is useful around tube ports and seams. Clearing this material first helps the washing step reach the actual surface.
4. Wash and scrub
Wash each accessible part and scrub away visible residue. Pay attention to undersides, tray edges, drainage openings, corners, feeding ports, and the bottom of seed chambers. A quick exterior wipe is not enough when food is trapped inside.
5. Disinfect when appropriate
Routine washing and disinfection are related but not identical. If visible contamination is heavy, cleaning has been irregular, or current wildlife guidance calls for disinfection, use a method suitable for the feeder.
Cornell Lab and Clemson Extension describe a solution of no more than one part household bleach to nine parts water, with a 10-minute soak after debris has been scrubbed away. Treat that as a sourced procedure, not a universal instruction for every material. Wear gloves, work away from food-preparation areas, and never combine the solution with another cleaner.
6. Rinse thoroughly
Rinse every component with clean water. Move or rotate hollow pieces so water reaches ports, channels, seams, and the base. No food residue or cleaning solution should remain where birds can contact it.
7. Let all parts dry completely
Place the components in a clean, well-ventilated area and allow them to air-dry. Do not refill a damp feeder. Moisture trapped beneath a roof or inside a tube can spoil the fresh food you add next.
8. Inspect, reassemble, and refill
Before reassembly, look for cracks, sharp damage, corrosion, loose hardware, blocked drainage, and worn hanging points. Reassemble the feeder as instructed, confirm that the ports and drainage paths remain open, and add only fresh food.
If you are still choosing equipment, the PerchKind bird feeder guide explains how feeder structure, food, bird access, and maintenance needs differ.
Cleaning Different Types of Bird Feeders
The basic sequence stays the same, but the places that trap food and moisture vary by feeder design.
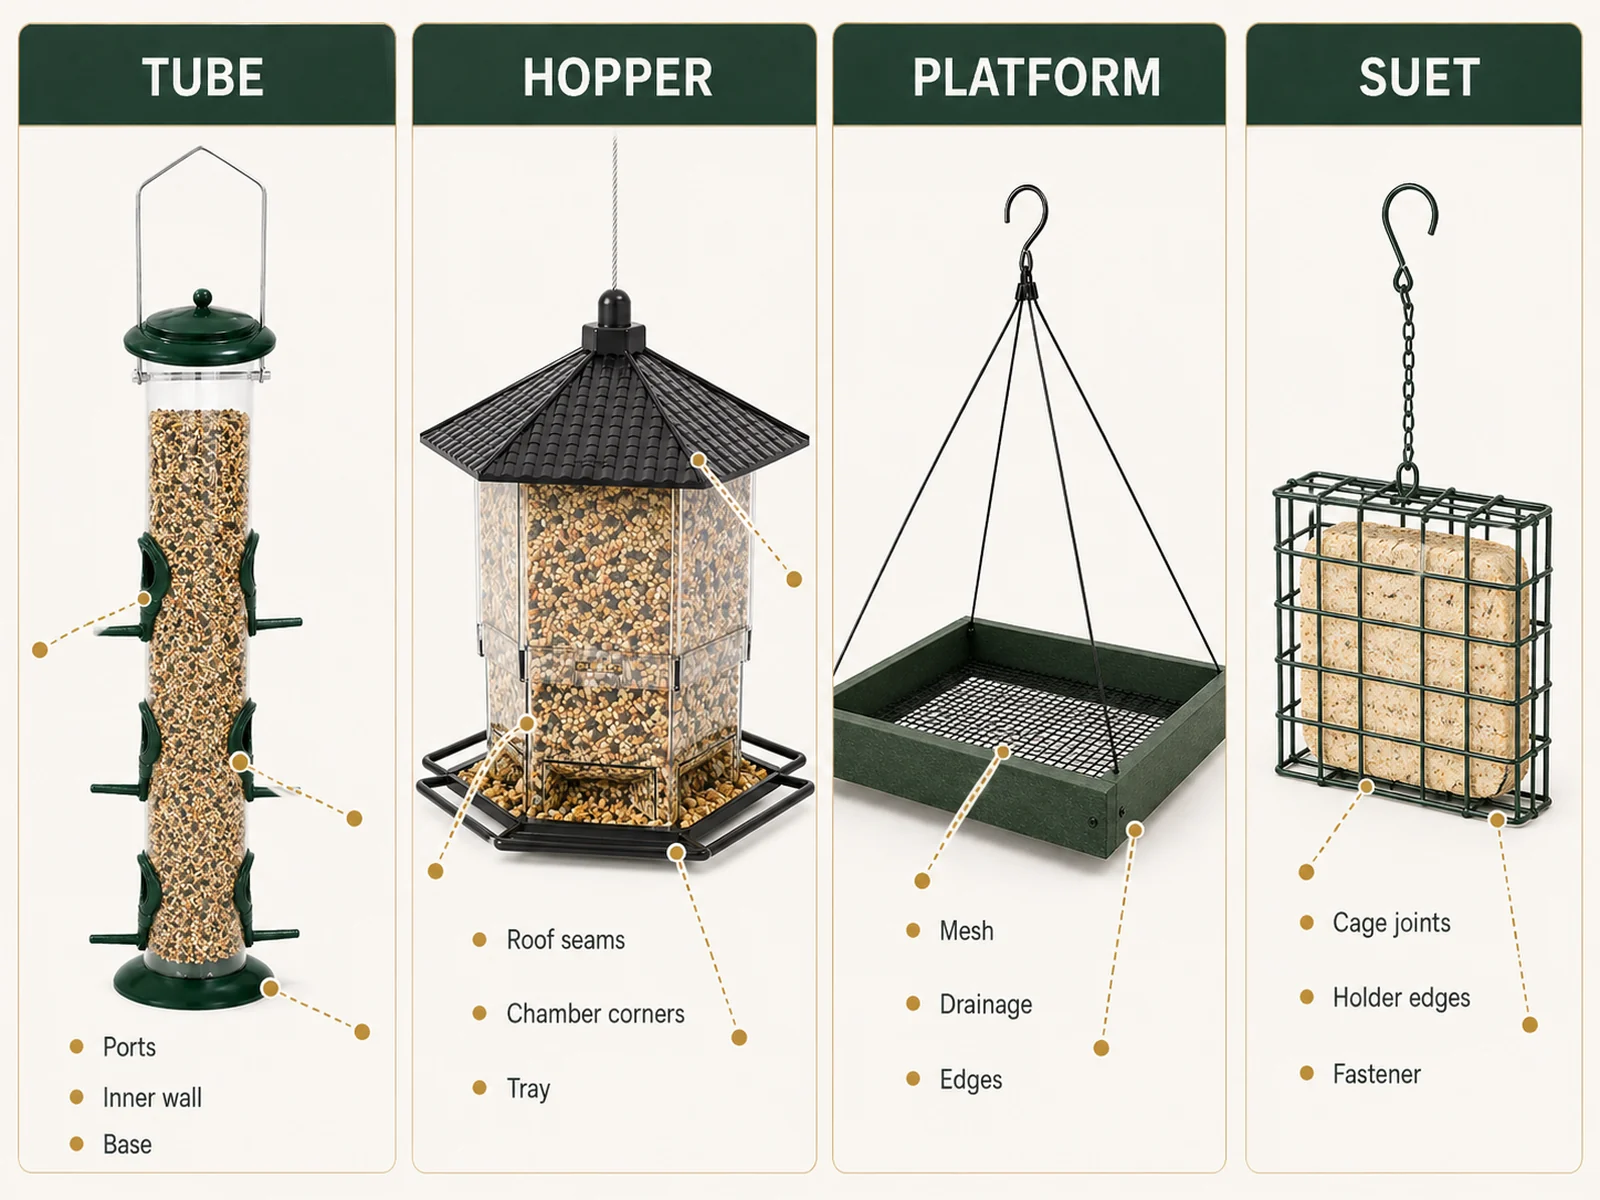
| Feeder type | Areas to inspect and clean | Common maintenance concern |
|---|---|---|
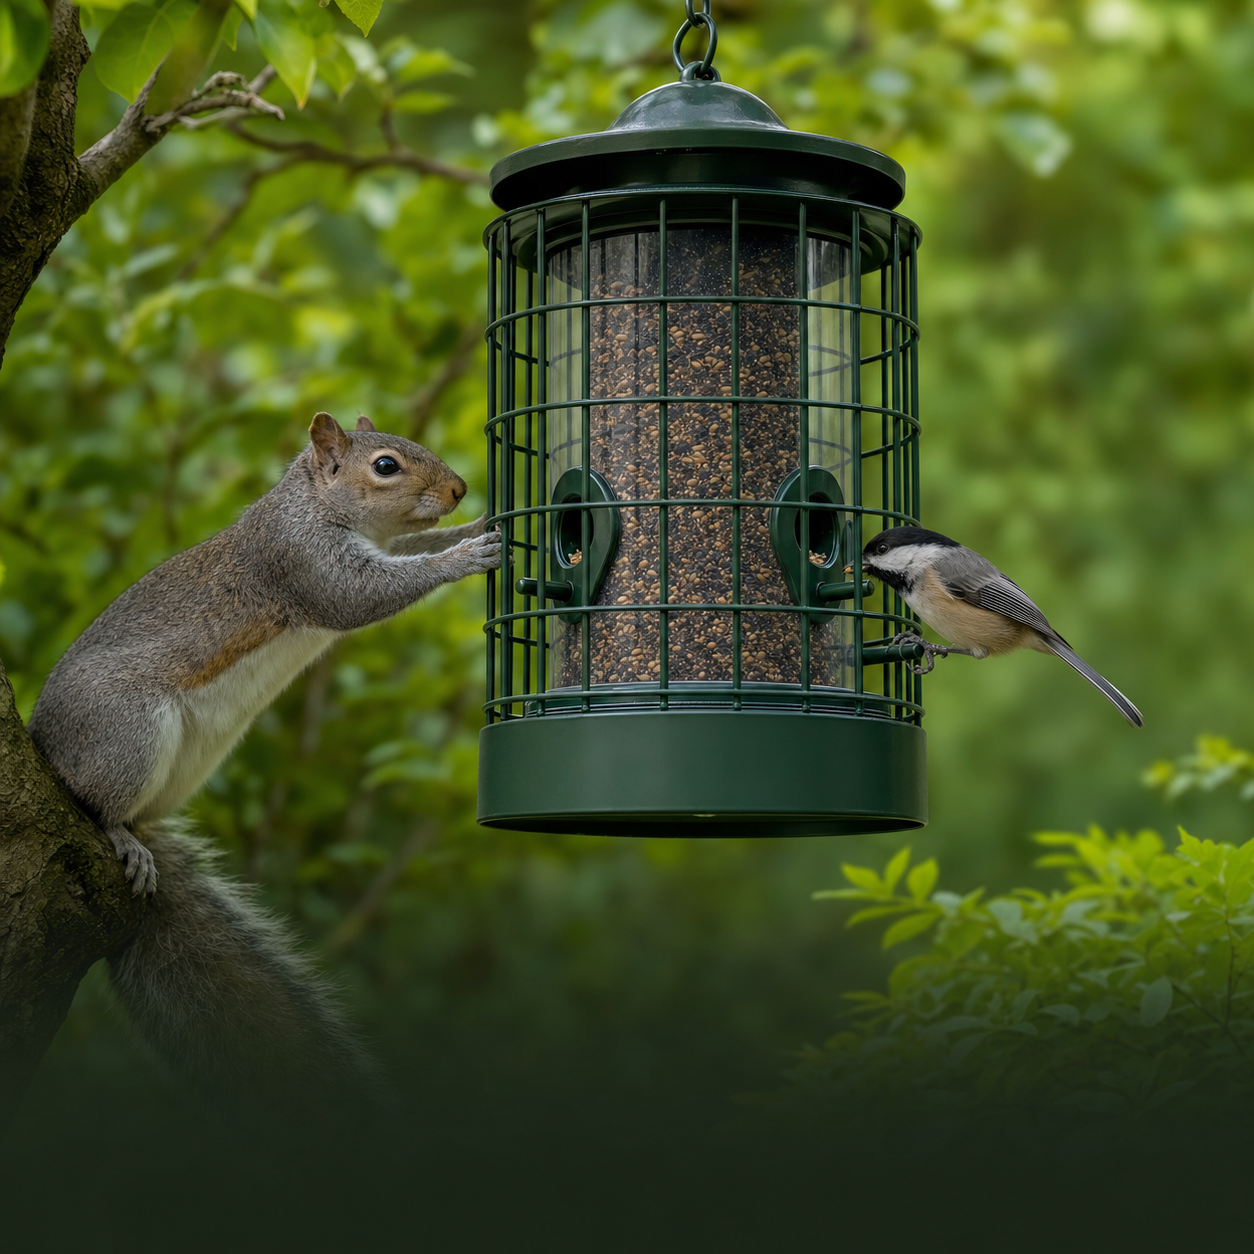
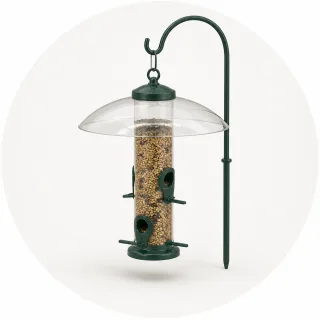
| Tube feeder | Feeding ports, inner tube wall, base, cap, and narrow seams | Seed can bridge inside the tube or lodge behind ports |
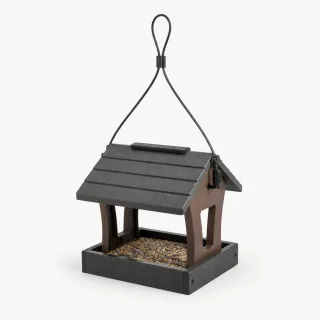
| Hopper feeder | Roof joints, seed chamber, corners, hinges, and feeding tray | Moisture or residue can remain where panels meet |
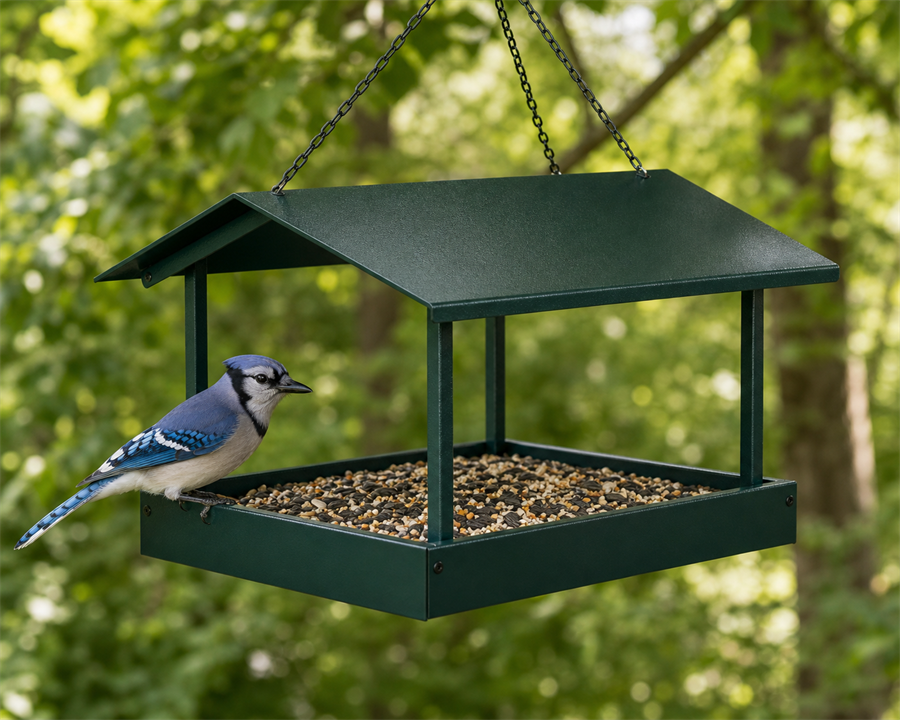
| Platform or tray feeder | Full tray surface, mesh, drainage openings, cables, and edges | Hulls and droppings are exposed on the feeding surface |
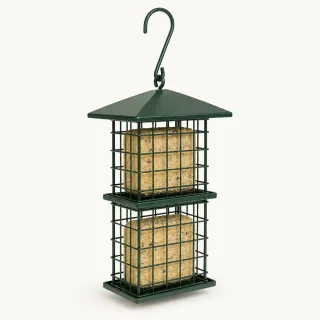
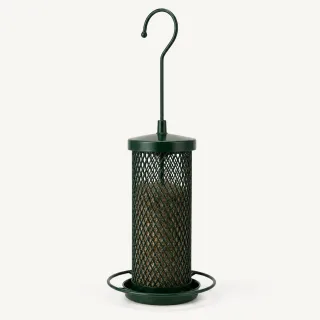
| Suet feeder | Cage intersections, holder edges, roof, and fastening points | Oily residue can collect, especially in warm weather |
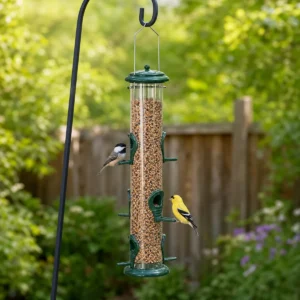
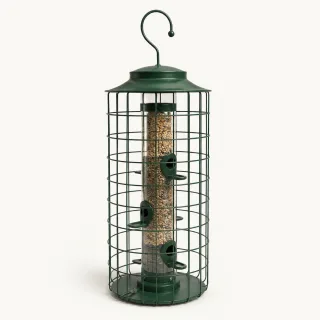
For a tube design, use a bottle brush that reaches the full interior rather than cleaning only the visible opening. Browse tube feeders to understand the range of port and base layouts before choosing a model.
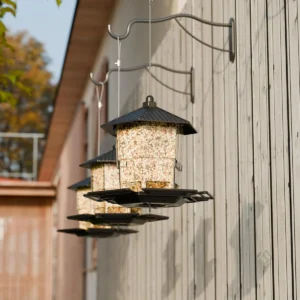
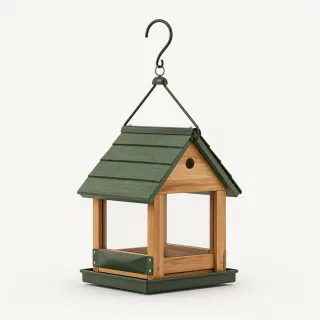
Hopper feeders need special attention at roof seams and lower corners. Make sure the seed chamber is dry before refilling. The hopper feeder category shows examples of enclosed seed storage designs.
Platform and tray feeders are open and easy to inspect, but that exposure also means droppings, hulls, and wet food can remain directly on the feeding surface. Clear mesh and drainage holes completely. You can compare available platform feeders without assuming that every tray disassembles in the same way.
For suet holders, remove food residue from every cage intersection and inspect it more often during warm conditions. Suet that becomes rancid or excessively soft should not be returned to the holder.
Clean the Ground Below the Feeder Too
Feeder care does not stop at the feeder. Hulls, uneaten food, and droppings accumulate below active stations, where ground-feeding birds can contact them and rodents can find an easy meal.
Rake, sweep, or collect the buildup regularly and dispose of spoiled material. Inspect the ground when refilling and clear debris before it becomes a damp, concentrated layer. If one small patch is heavily used, consider rotating or resting the feeding location when practical.
Placement also affects maintenance. A feeder that is reachable for cleaning is easier to care for consistently. Use the bird feeder placement guide to balance cleaning access with window safety, nearby cover, weather, and squirrel pressure.
What to Do If You See a Sick Bird
A backyard article cannot diagnose a wild bird. Warning signs can include swollen or crusted eyes, poor coordination, unusual lethargy, or a bird remaining fluffed and inactive, but different conditions can look similar.
If a sick bird visits, pause feeding and check current guidance from your state wildlife agency. The appropriate pause depends on the local situation; follow the agency’s advice about when to resume. Clean the feeder and the area below it before putting food out again.
Wear gloves when handling contaminated equipment and wash your hands afterward. Keep the cleaning work away from food preparation. If poultry or waterfowl are also present on the property, seek advice appropriate to that setting instead of relying only on general songbird guidance.
Bird Feeder Cleaning Mistakes to Avoid
Refilling while parts are still damp
Fresh food can absorb trapped moisture. Wait until the seed chamber, roof seams, ports, tray, and base are dry.
Reusing wet or moldy seed
Do not try to dry spoiled food for reuse. Discard it and clean the surfaces it contacted.
Mixing cleaning chemicals
More products do not mean a safer result. Never mix bleach with vinegar, ammonia, or another cleaner.
Washing in a food-preparation area
Use an outdoor area or utility sink and keep dedicated brushes away from dishes and countertops.
Ignoring the ground
A spotless feeder over a buildup of wet hulls and droppings leaves part of the feeding station unmanaged.
Assuming the dishwasher is safe for every feeder
Cornell lists a hot dishwasher as one option, but only use it when the manufacturer confirms that the feeder and every removable part are dishwasher-safe. Otherwise, wash by hand.
Quick Bird Feeder Cleaning Checklist
- Discard the old food.
- Take apart only the removable components.
- Brush out seed, hulls, and droppings.
- Wash and scrub every accessible surface.
- Disinfect when appropriate and material-safe.
- Rinse thoroughly.
- Air-dry every part completely.
- Inspect drainage, ports, edges, and hardware.
- Clean below the feeding station.
- Reassemble and refill with fresh food.
Frequently Asked Questions
How often should I clean a bird feeder?
About every two weeks is a practical baseline for many seed feeders, but published guidance varies. Clean sooner after wet weather, heavy use, visible droppings, mold, spoiled food, or a local disease alert. Check the feeder each time you refill it.
Can I use bleach to clean a bird feeder?
Yes, when bleach is suitable for the feeder material and disinfection is appropriate. Cornell and Clemson describe no more than one part bleach to nine parts water with a 10-minute soak after scrubbing. Rinse thoroughly, dry completely, and never mix bleach with another cleaner.
Can I use vinegar instead?
Some extension guidance uses vinegar in routine feeder care, but it should not be treated as interchangeable with every disinfecting procedure. Follow the feeder manufacturer’s material guidance and current wildlife-health advice. Never combine vinegar with bleach.
Do I need to rinse after disinfecting?
Yes. Rinse every surface, port, seam, tray, and base with clean water, then let all parts air-dry completely before adding food.
Can I put a bird feeder in the dishwasher?
Only when the manufacturer confirms that the entire feeder or the specified removable parts are dishwasher-safe. Heat can damage some plastics, finishes, adhesives, wood, or painted components, so hand-washing is the safer default when instructions are unclear.
What should I do with wet or moldy birdseed?
Discard it. Do not dry it and put it back. Remove residue from the feeder, wash the affected parts, rinse them, and wait until they are completely dry before adding fresh food.
What should I do if I see a sick bird at my feeder?
Check current advice from your state wildlife agency. That guidance may call for temporarily removing feeders, cleaning the equipment and ground, and reporting the observation. Do not attempt to diagnose or treat a wild bird based on an online article.
Make Cleaning Part of Feeder Care
The best cleaning routine is one you can repeat. Inspect the feeder while refilling, respond immediately to wet or spoiled food, schedule a full wash, and keep the ground below it clear. Choosing a design you can safely reach and maintain matters as much as choosing one birds will use.
When you are ready to compare styles, shop PerchKind bird feeders and match the feeder to your birds, food, space, and maintenance routine.
Sources and Editorial Notes
- Cornell Lab of Ornithology — How to Clean Your Bird Feeder
- Clemson Cooperative Extension — Washing Bird Feeders
- University of New Hampshire Extension — Cleaning Your Bird Feeders
PerchKind Editorial Team prepared this guide using institutional guidance. Product links help readers compare relevant feeder categories; they do not change the cleaning or wildlife-health recommendations. Readers can report a factual concern through the PerchKind contact page.